Complete Guide to Rubber Track Installation
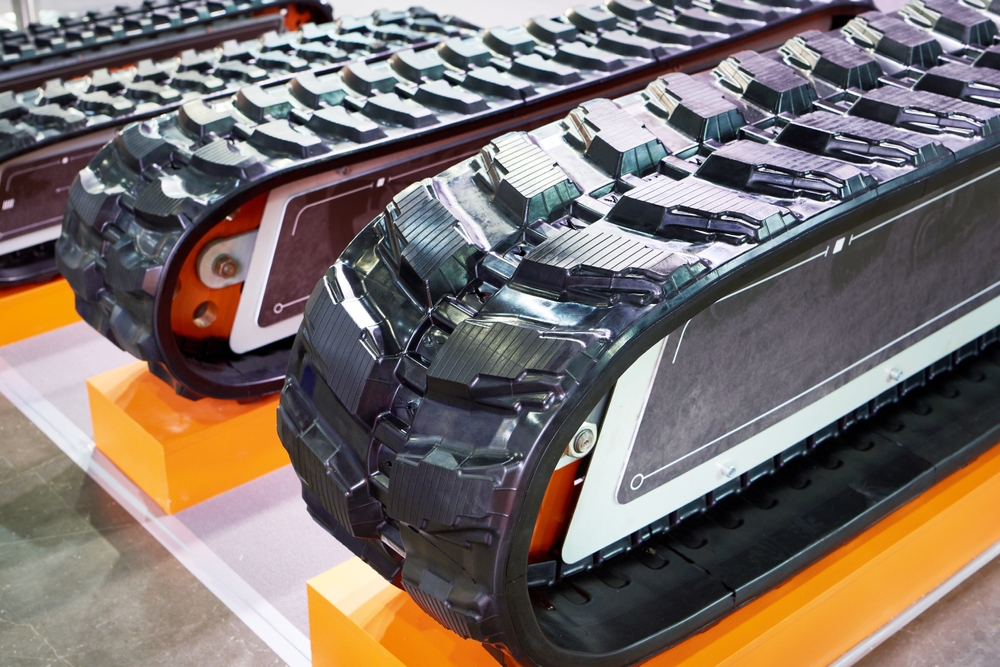
Whether you’re operating a compact track loader (CTL) or a mini excavator, the condition of the rubber tracks play a critical role in safe operation. Over time these tracks eventually will need replacement due to general wear and tear. This can seem like a daunting task due to the heavy weight of these tracks and the risk of damage to your equipment. With our decades of experience dealing with rubber tracks, TFI have created a handy guide that breaks down step by step the rubber track installation and replacement process, ensuring you can carry out the task safely and effectively.
Getting Started with rubber track installation
Before you get started, gather your tools and find a safe, open area with a flat surface. You’ll need heavy-duty equipment like a forklift and equipment including a grease valve, grease valve cover, top carrier mounting bolts, bottom roller nuts, sprocket segments, control valve linkage, and pins of at least 10 inches.
Proper preparation before the installation of rubber tracks is crucial to ensure everything goes as it should. Remember to:
- Study your equipment’s manual: Each vehicle model has unique features and may require a slightly different approach. Make sure you understand your specific machine’s instructions.
- Get the right tools: Heavy-duty equipment such as a forklift and certain pinning tools are necessary for rubber track installation.
- Choose the right environment: Find a flat, open area to reduce the potential for accidents.
- Make sure you have appropriate personal protective equipment (safety gloves etc)
Replacing rubber tracks is a task that requires some technical knowledge and skill. If you are not confident in performing the replacement yourself or if the task proves too challenging, do not hesitate to seek professional assistance.
A poorly installed track can pose serious safety risks and cause further damage to machinery. If you are unsure about anything, it’s always best to consult a professional.
Step 1: Prepare Your Workspace
Start by finding a safe location to carry out the replacement. It should be a level, solid surface (no sandy areas) to prevent the vehicle from shifting during the process. Park your machine and place blocks or boards underneath to further enhance stability.
Step 2: Loosen the Grease Fitting
The grease fitting, often located behind a panel in the centre of the track, controls the track’s tension. Releasing some of the grease will alleviate tension on the track, making it easier to remove. As you do this, take the opportunity to inspect the fitting. If it shows signs of wear or damage, it’s best to replace it during this process to avoid issues in the future.
Step 3: Lift the Vehicle
Tip the vehicle upwards until your tracks are suspended. This can be done by carefully pushing down the front blade of your machine. The suspended tracks need enough clearance around the work space to ensure ease of access and safely. As an added safety measure, place a heavy-duty jack stand underneath your vehicle to offer extra support. This prevents any unforeseen shift or movement of the vehicle.
Step 4: Detach the Track from the Sprocket
With the machine properly suspended, you can now attempt to remove one end of the track from the sprocket teeth. This might be challenging due to the residual tension, so consider using a pry bar or lever to help dislodge it. Having a second person to slowly drive the suspended vehicle forward can also aid in this process.
Step 5: Completely Remove the Track
You should now be able to remove the rest of the track. This might be a two-person job, or even require a forklift depending on the weight of the tracks. Always prioritise safety when handling heavy equipment parts. Make sure to place the old tracks away from your working area.
Step 6: Align the New Track
Position your new track with the sprocket and attach onto the sprocket’s teeth. This step requires careful precision to ensure that the track is correctly aligned. Just like in the removal process, this may need an extra pair of hands or a forklift. Patience is key so take your time with this step.
Step 7: Position the New Track
With your assistant turning on and slowly driving the vehicle, the track should begin to move forward. Simultaneously use your pry bar to align the front of the track with its resting position. It might take a few tries to get things perfectly aligned.
Step 8: Assess the New Track
While the vehicle is still safely suspended, let the track spin a few rotations. Observe the movement to ensure everything is aligned correctly and seated on the sprocket. It should fit snugly and move smoothly, without any sign of dislodgement or abnormal sound.
Step 9: Reapply Tension
Refill the grease fitting and reintroduce the grease that was initially removed to reapply tension to the track. This is crucial for ensuring the track stays firmly in place during operation.
Step 10: Repeat on the Other Side
If your vehicle has tracks on both sides that need replacing, repeat steps for the other track. Once both tracks have been replaced, carefully remove the jack and lower the vehicle back to the ground. Perform a comprehensive check in a controlled setting before returning the vehicle to daily use. It’s always better to catch any issues in a controlled environment rather than during actual operation.
Common Mistakes
Common mistakes to avoid:
- Incorrect tension: Over-tightening or under-tightening can lead to premature wear or track derailment. Follow your manufacturer’s guide to ensure correct tension.
- Ignoring worn out parts: When changing your tracks, it’s the perfect time to check for any worn out or damaged parts. Ignoring these could lead to further damage down the line.
- Improper alignment: Incorrect alignment of the track could cause problems with movement and stability. Make sure the track is correctly fitted on all sprockets and idlers.
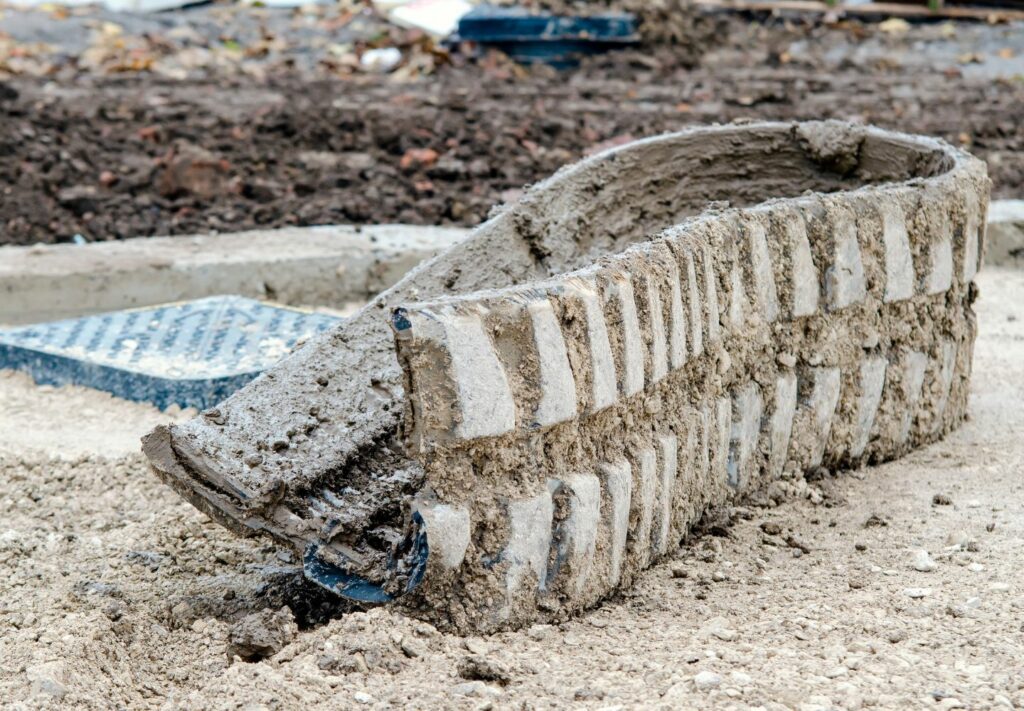
Maintenance
The regular inspection and maintenance of your tracks can significantly extend their service life. Keeping your rubber tracks clean from mud, debris, and other detritus can prevent unnecessary wear and tear. Routine inspections are necessary to catch early signs of damage that can affect track integrity and performance. Remember that even the smallest tear or crack can escalate quickly under heavy load.
Quality of Replacement Tracks
Not all replacement rubber tracks are created equal. When it’s time to replace your existing tracks, choosing a high-quality replacement is essential. The material, design, and manufacturing quality of the tracks can greatly affect their durability and performance. TFI stock a range of reputable brands that ensure optimal performance and longevity.
The TFI Difference
While replacing rubber tracks can seem like a daunting task, this comprehensive guide should hopefully make the process of rubber track installation less intimidating. Taking the time to replace your tracks correctly can prevent damage, prolong the life of your equipment, and most importantly, ensure your safety and the safety of those around you.
For more information on rubber track replacement or if you need help selecting the right replacement tracks for your Compact Track Loader or mini excavator, don’t hesitate to reach out to our friendly team. We have decades of experience as one of the best rubber track suppliers Australia has to offer.